While I’m not particularly drawn to log cabin blocks from an aesthetic point of view, there are a couple of things I like about them. Firstly, you can arrange them in all kinds of patterns, at least if you go with the light/dark contrast that is most common in log cabin blocks. And it’s a traditional block.
I borrowed The Ultimate Log Cabin Quilt Book by Maggi Mccormick Gordon and Patricia Cox from the library last month and that was my inspiration. I wouldn’t want to own this book as an entire book about log cabin blocks is a bit much of a good thing, but it was a good one to borrow. It covers a number of techniques including strip piecing and foundation piecing on muslin and there are many, many layouts to study.
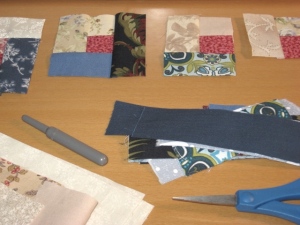
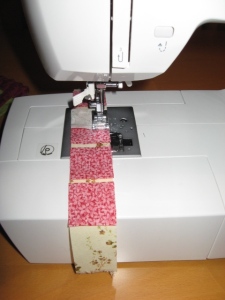
I decided to strip piece around a 1 1/2 inch square red-toned centre, to reflect the tradition of a red or yellow symbolic central hearth, around which the rest of the block is constructed.
You start with a pile of 1 1/2 inch square centres and a couple of piles of 1 1/2 inch strips. I chose blue and neutrals because I seemed to have lots of odd bits of both lying around and I really wanted to move them on.
This is an excellent way to use up scraps and it really doesn’t seem to matter whether you’re working with a lovely or an ugly fabric. It all just comes together. My goal is 64 blocks, that is an 8 by 8 square design as that gives masses of flexibility in how the finished quilt comes together.
Funny how you can start a day with a little experiment and end it with 52 blocks still to complete.

